
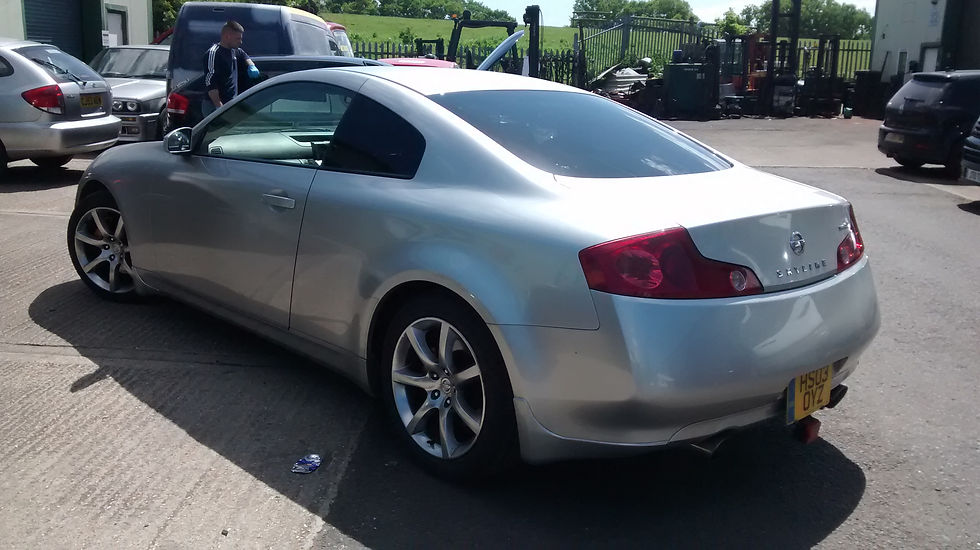
Nissan 350GT Skyline
This is what happens when I take a punt.
I was looking for a Nissan Skyline R33 GTST and during one search, this came up locally under 'Skyline'. I dismissed it at first but then realised it was still a very good price and pretty rare. A little bit of research later and I knew it was basically a Nissan 350z underneath, so no worries about parts. It was also a manual, which is very uncommon in these but also explained another reason for it being cheap; a noisy clutch release bearing.
Long story short, it was local, cheaper than it should have been and I managed to get it for even cheaper still after the seller has been messed about by less serious buyers. The first thing I did was take it to friends garage that was literally down the road from buyer and get the car in the air to have a look.


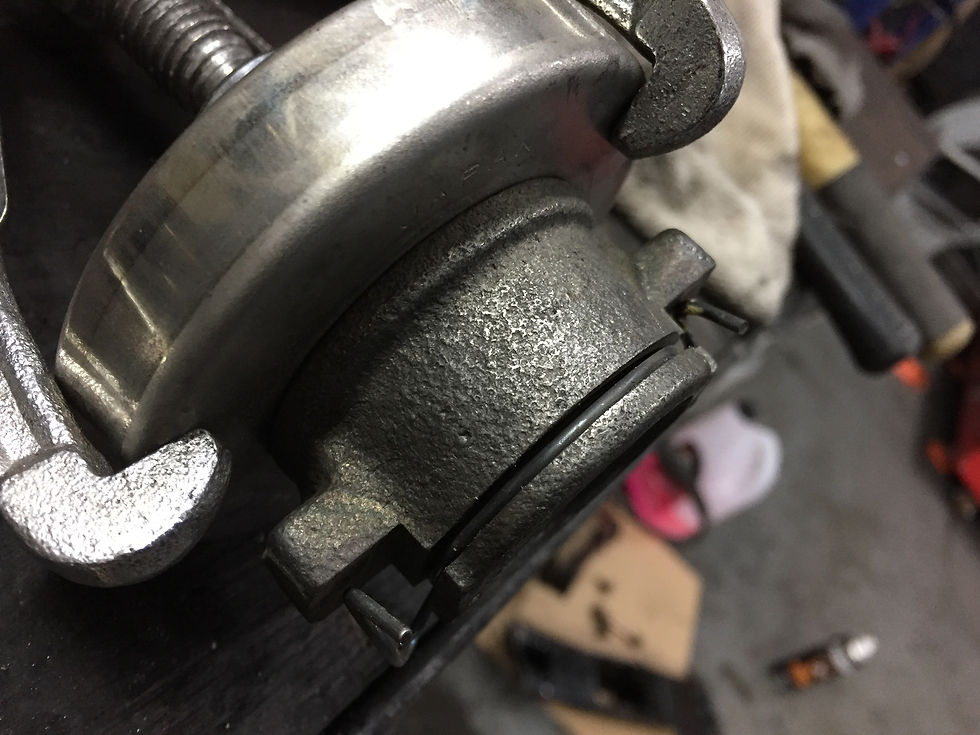
One of the first jobs was to sort the very warped and worn out brakes. As the brakes were actually something to be proud of, I took the opportunity to give them a proper clean and mild re-furbish with new seals and stainless screws. I tried skimming the original discs but this didn't work, so new ones were bought instead.


Next were a few smaller jobs; The windscreen washers seriously lacked pressure and after testing various items, it turned out there's a non-return valve in the lines; very clever until it gets old and starts to cause a blockage. While I was working on the 'wiper system' I refreshed the wiper arms as I've done on several Hondas.
To my surprise, I noticed that the dials were missing a 'screen'. Something I hadn't even noticed during the viewing. Luckily it was a seperate part that you could purchase from the dealer (once shipped from Japan) but unluckily it was £90!
An oil filter and air filter change was next, and as the air filter is on display, I chose an uprated item. The original was in a pretty poor state when removed.
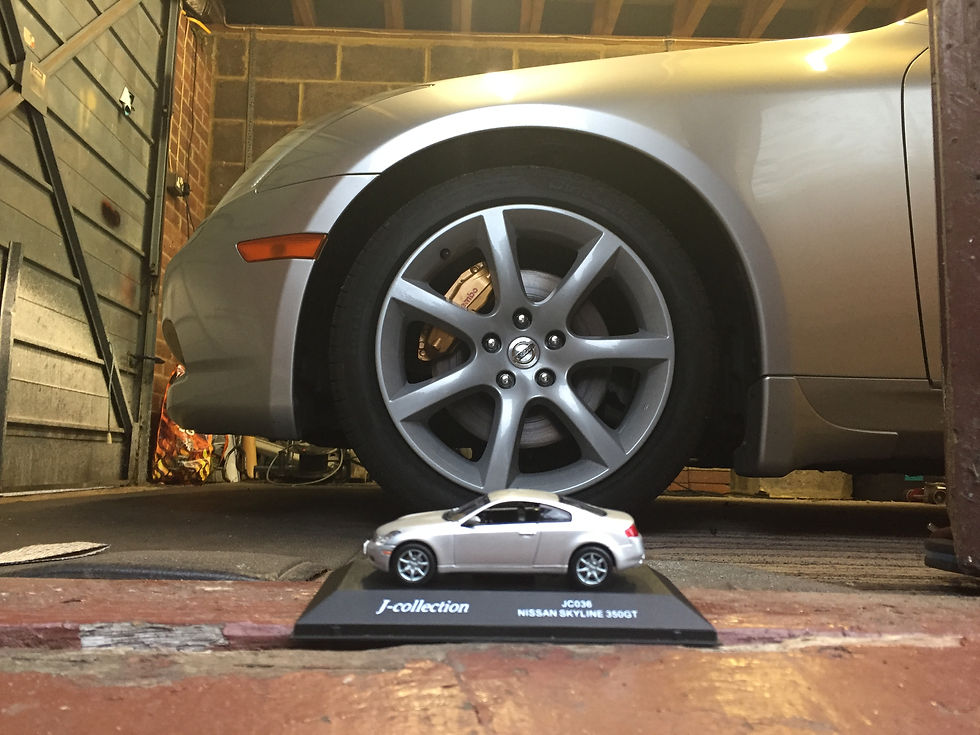
Lastly, for this 'batch' of work, I had the wheels refurbished and fresh tyres fitted.


With the car in a good state to start using; serviced, new brakes and good tyres, I could use it for weekend trips and start taking pictures:


While I was under the car, I noticed the undertray had been cable tied in places so I wanted to replace those fixings. On removing it, most of the other fixings snapped and the steel brace supporting the undertray disintegrated. Using some stainless steel and riv-nuts (with my home-made tool) I strengthened everything and re-secured it.


Another item that needed fixing, that the seller had advertised, was the electric windows were temperamental. Being that the windows drop slightly to allow you open the door, this caused issues if you didn't want to risk damaging trim, or worse, breaking a window! Removing the mechanisms and motors involves stripping the door down completely which was a good time to soundproof and wax the internals. Although new motors are available, they're expensive and can be fixed. With the help of a colleague, I replaced the worn brushes and it was as good as new.


One thing that was always slightly disappointing was how quiet the car was. As the exhaust join between backbox and centre section needed repair anyway, the exhaust would never be original anymore so I decided to cut it open and see if I could make it sound a little better. Disappointingly it made very little difference, but removing all the rusty bolts was good preparation for the upcoming clutch replacement.
The cat heat shields were also rusted and rattling so these were removed.


Although I'd grown fond of the Japanese text on the centre console, I was keen too see if I could convert the screen to US spec. I ordered a whole unit from a breakers yard in America which unfortunately arrived very damaged BUT the parts I needed were still intact if I combined the good original parts I had. As it turned out, although the buttons were now in a language I understood, the module that controls the screen was elsewhere in the car. While things were apart though, I repaired a few slightly worn items.


When the car was originally imported, it was fitted with horrible caravan style rear foglight. I decided to replace this with some smaller LED items and neaten up the brackets by adding them to the existing numberplate holder. While I was working in this area I noticed that the numberplate light bracket was made of rust so I re-made it in stainless.


My plan was always to spruce up the underside, but instead of taking the car off the road for too long doing this, I decided to work on all the removable components first, re-fit them and then when I came to work on the body, those parts would come off easily and be done already. This was also preparation for replacing the clutch; making sure I'd already tackled the rusty nuts and bolts holding on all the parts in the way.
Most parts were ground down, soaked in rust removal solution and re-painted. The 'W' brace however was in very poor condition and required some more substantial dismantling and repairs.


The bonnet on these cars is aluminium with a steel sub-structure, riveted together. The trouble with this is that the two different material react and cause corrosion. The underside of the bonnet was suffering from this with lots of bubbles around the leading edge; I wanted to fix these before they crept round onto the visible edge.
While waiting for various rust removing gels to work and coats of paint to dry, I also set about repairing the battery wiring. For some reason the car was fitted with a motorbike battery and the original battery clamps were missing. It also had an aftermarket battery mounted fuse block spliced into the original wiring. Not only did I not trust all this work, it looked poor as well. I managed to get hold of the correct sections of wiring harness with assorted brackets and re-instated everything as per an original car.


The rear end was making a slight noise which I'd read on forums could be the rear shock mount bolt being fractionally smaller than the hole through the strut. I thought I'd take one out and see what was what. Trouble was, the bolt was seized in the bush meaning I broke the nut welded onto the shock and was still left with part of a bolt seized in the bush. What was supposed to be a quick repair turned into replacing a bush, but with the use of some sockets and a threaded bar, all was well.


Time for the job I'd been putting off since buying the car! Replacing the clutch and flywheel.
After some research, I'd decided what clutch and flywheel kit I wanted, plus a couple of items like a new pivot ball and braided line that made sense to do at the same time. I was replacing the slightly shot dual-mass flywheel with a lightened, single-mass unit.
I was able to use my friends garage to do the job and luckily, my previous work on all the sub-components meant stripping the car down was easy, apart from the box itself being firmly stuck on the blocks dowel pins.
The biggest headache was the pilot bush bearing; this needs to be pulled out and replaced with a new item, and I'd seen various videos using grease (or bread!) to pack behind, hammer and the force pushed the old bush out. Well, it didn't work for me and I had to very carefully cut the old bush with a junior hack-saw blade until it could collapse in on itself and come out. Getting the new one in was easy enough and I later found the tools for this job were about £20, which I would have HAPPILY bought if I'd known.
As this was the first time I'd tackled a job like this, I was being super careful, triple checking everything while simultaneously panicking about shearing bolts.


Having spent a good bit of time under the car while replacing the clutch/flywheel, I couldn't help notice the underside wasn't as shiny as I'd like. The next big job was to strip down and re-paint the rear end of the car. At first I thought I could do this without dropping the subframe, but I quickly realised that it would have been more tedious not to and the results wouldn't have been as good, so out it came.
Every component that came off was stripped down, re-painted and filled with cavity wax before going back. Oh and the nut was my way of cleaning the threads on the long subframe mounts so the original nuts could un-do without binding up every few mm.


With the rear underside now done, I wanted to protect it from the top, so most interior panels were removed so that cavity wax could be sprayed in all box sections.


I used the car as it was for a while, during the summer, but the next job was to get the front arches matching the rears.
The strut tops had some very slight surface rust and the arches were poorly protected from the factory. With that in mind, everything was stripped down, treated and painted in both matching silver inside the engine bay and stone chip in the front arches. Again, any brackets removed were cleaned and painted and everything was waxed before final assembly.


While I was working on the front end, I kept seeing the scuff that was on the car when I bought it. It still has the original panels but had received a 'smart repair' some time ago, then it was scuffed again in the same place and not repaired. Because this area had already been repaired, I thought I would try the repair myself, tweaking my methods slightly after the mixed results I got on the BMW.
The dents / scuffs were treated with the appropriate fillers and then painted separately to make sure the 'inside' faces were painted. The bumper was then fitted and the whole repair was blended together. The indicator was also wet sanded and polished to removed the scratches.


All this work on the front end meant the engine was bay was pretty dirty, so I stripped down various parts to get better cleaning access. While I was there, I decided to replace the spark plugs as they are a service item I hadn't gotten around to yet. On removal of the old items, it seems incorrect plugs had been fitted previously so it was a good job I was doing them! After that, everything was cleaned, protected and reassembled.


The car had been making some odd noises from the suspension, which I suspected were the front ARB drop links. To confirm this, I removed them, tied the ARB out of the way and went for a test drive. The noise had gone. Confirmed!
However, when pulling it back in the garage I noticed an exhaust heat shield was rattling so I quickly fixed that. The plan was to remove the drop links, order new ones and check against the originals when they arrived.


Another noise that it'd been making was a squeaky aux belt, so I figured while it was up on stands I'd service all the remaining items:
New aircon & aux belts, Fresh coolant, Fresh PAS fluid and an oil service.
Judging by the belts that came off and the coolant that came out, it's safe to say they were due!


